How To Manage Organizations & Team Members In Your ZipWP Account?
In this article, we’ll explore some fundamental aspects of your ZipWP account, including organizations that are automatically created when you sign up for a ZipWP account, how to manage multiple organizations within the same ZipWP account, and the process of adding team members to organizations.
Let’s start with the basics.
What Is An Organization?
When you sign up for a ZipWP account, ZipWP automatically generates an organization for your account. The default name of your organization is your first name + team, but you can easily change the organization name later.
Billing occurs at an organizational level. This means that you can purchase paid plans for different organizations. For example, your Organization A can be on a Pro plan, and your Organization B can be on a Business plan based on your needs.
Additionally, while you can have multiple organizations on a paid plan, you can also maintain one free organization in your ZipWP account at all times.

You can also invite different people, such as clients and team members, to join your organization and help you in manage or see the sites you create, provided that your organization is on a Business plan.
How To Create An Organization
If you want to create a new organization, you can perform the steps mentioned below.
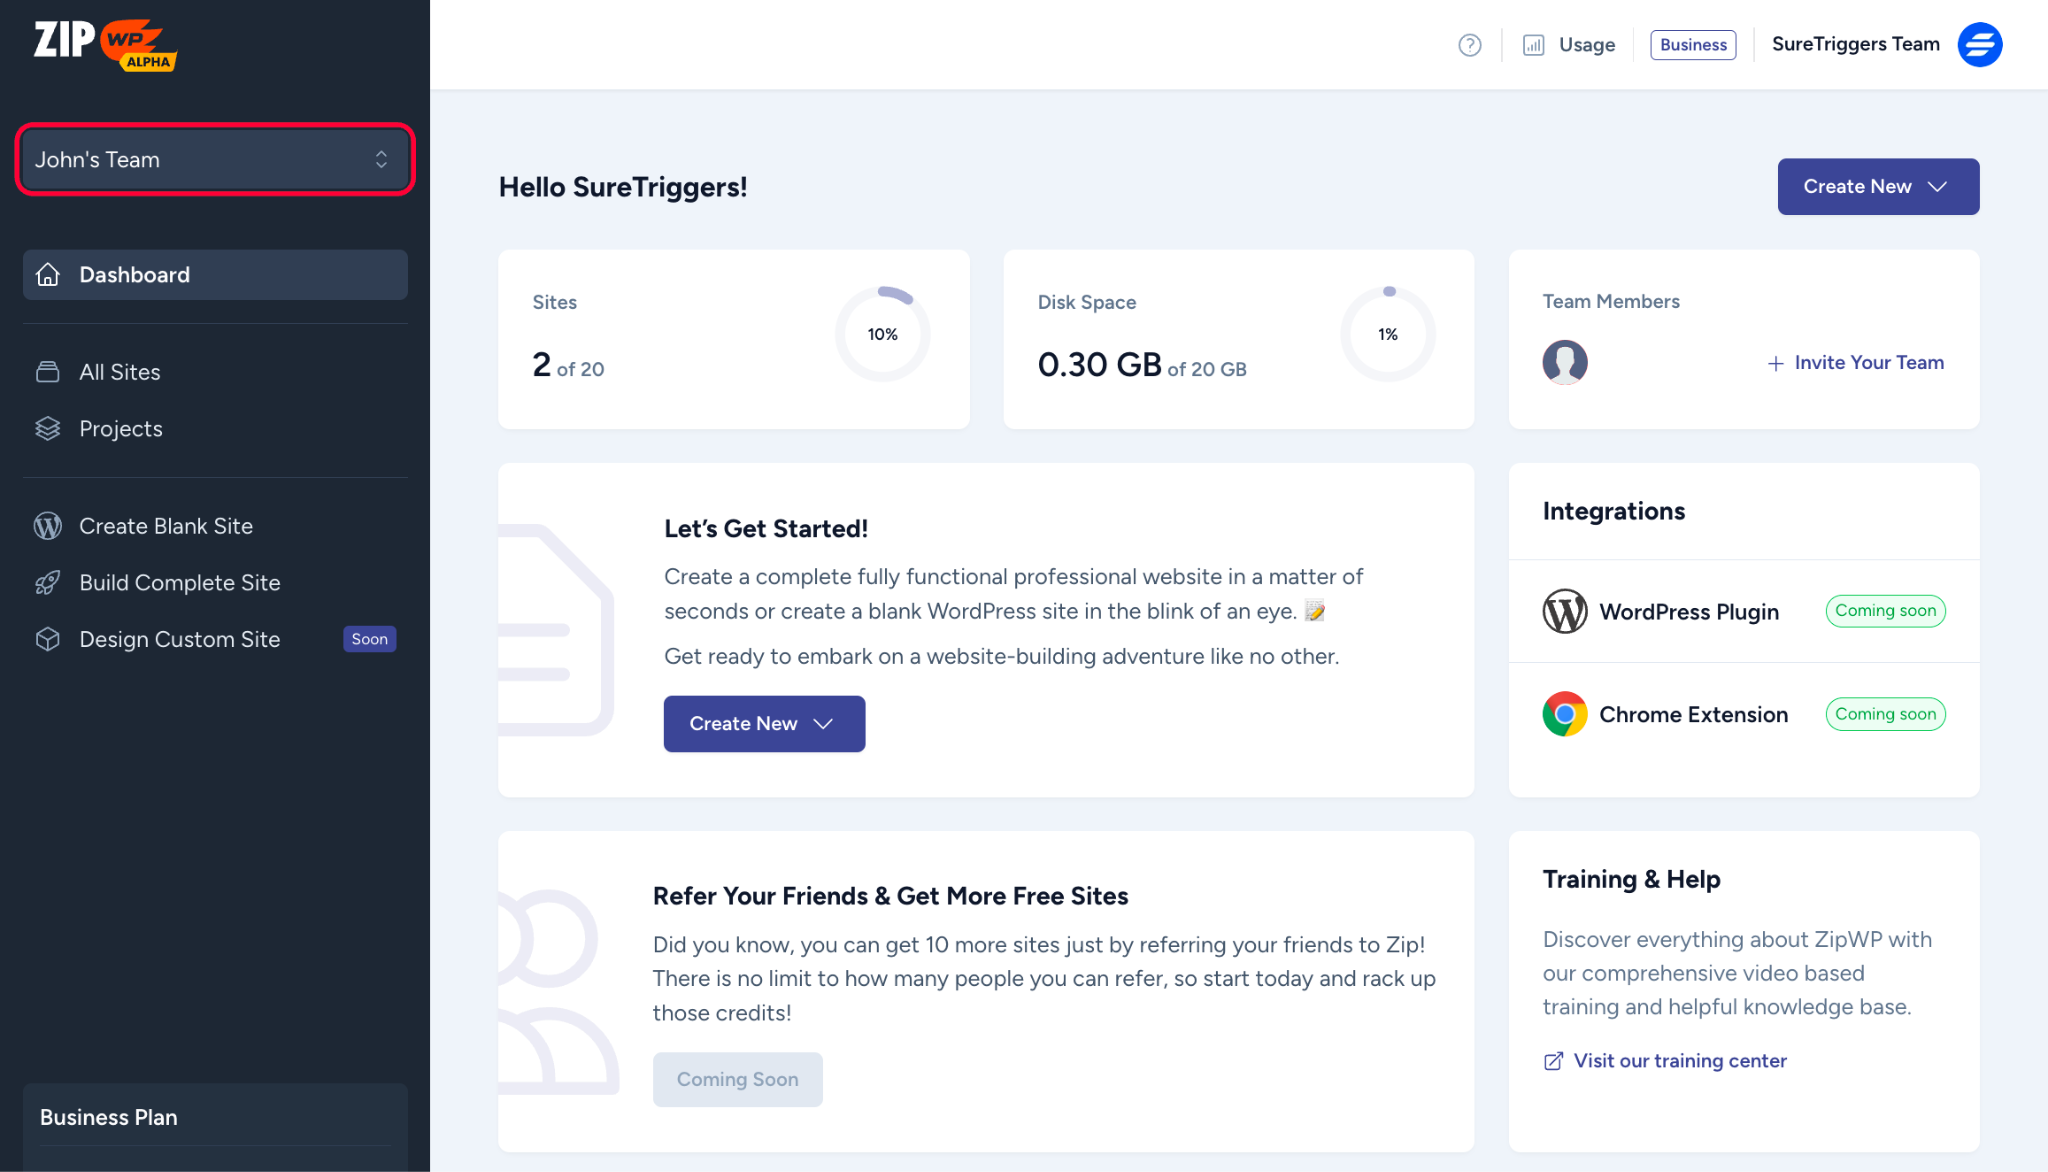
- Click on the Organization dropdown.
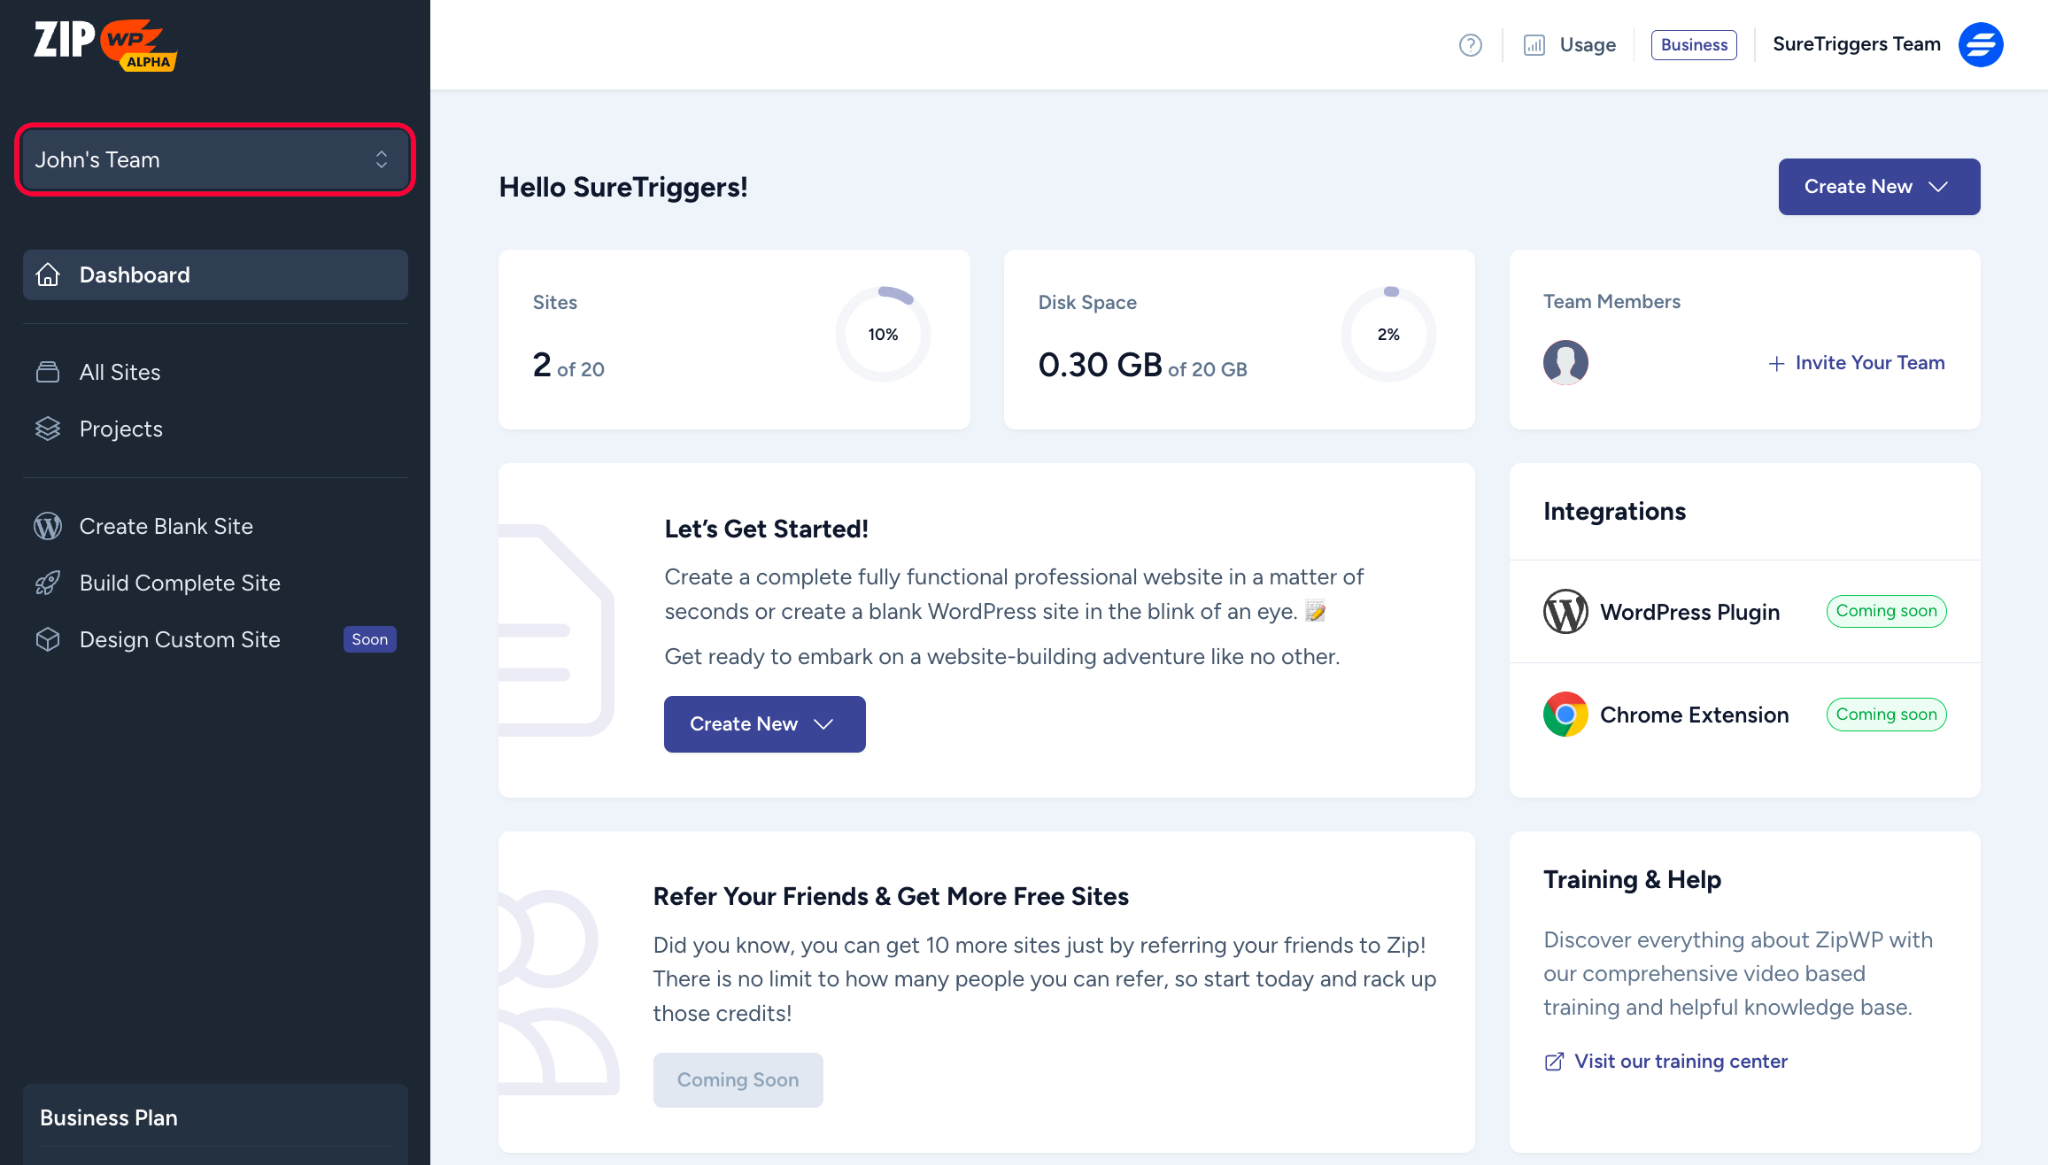
- Click on the Create New Organization button.

- Name your organization, and click on the Create button.
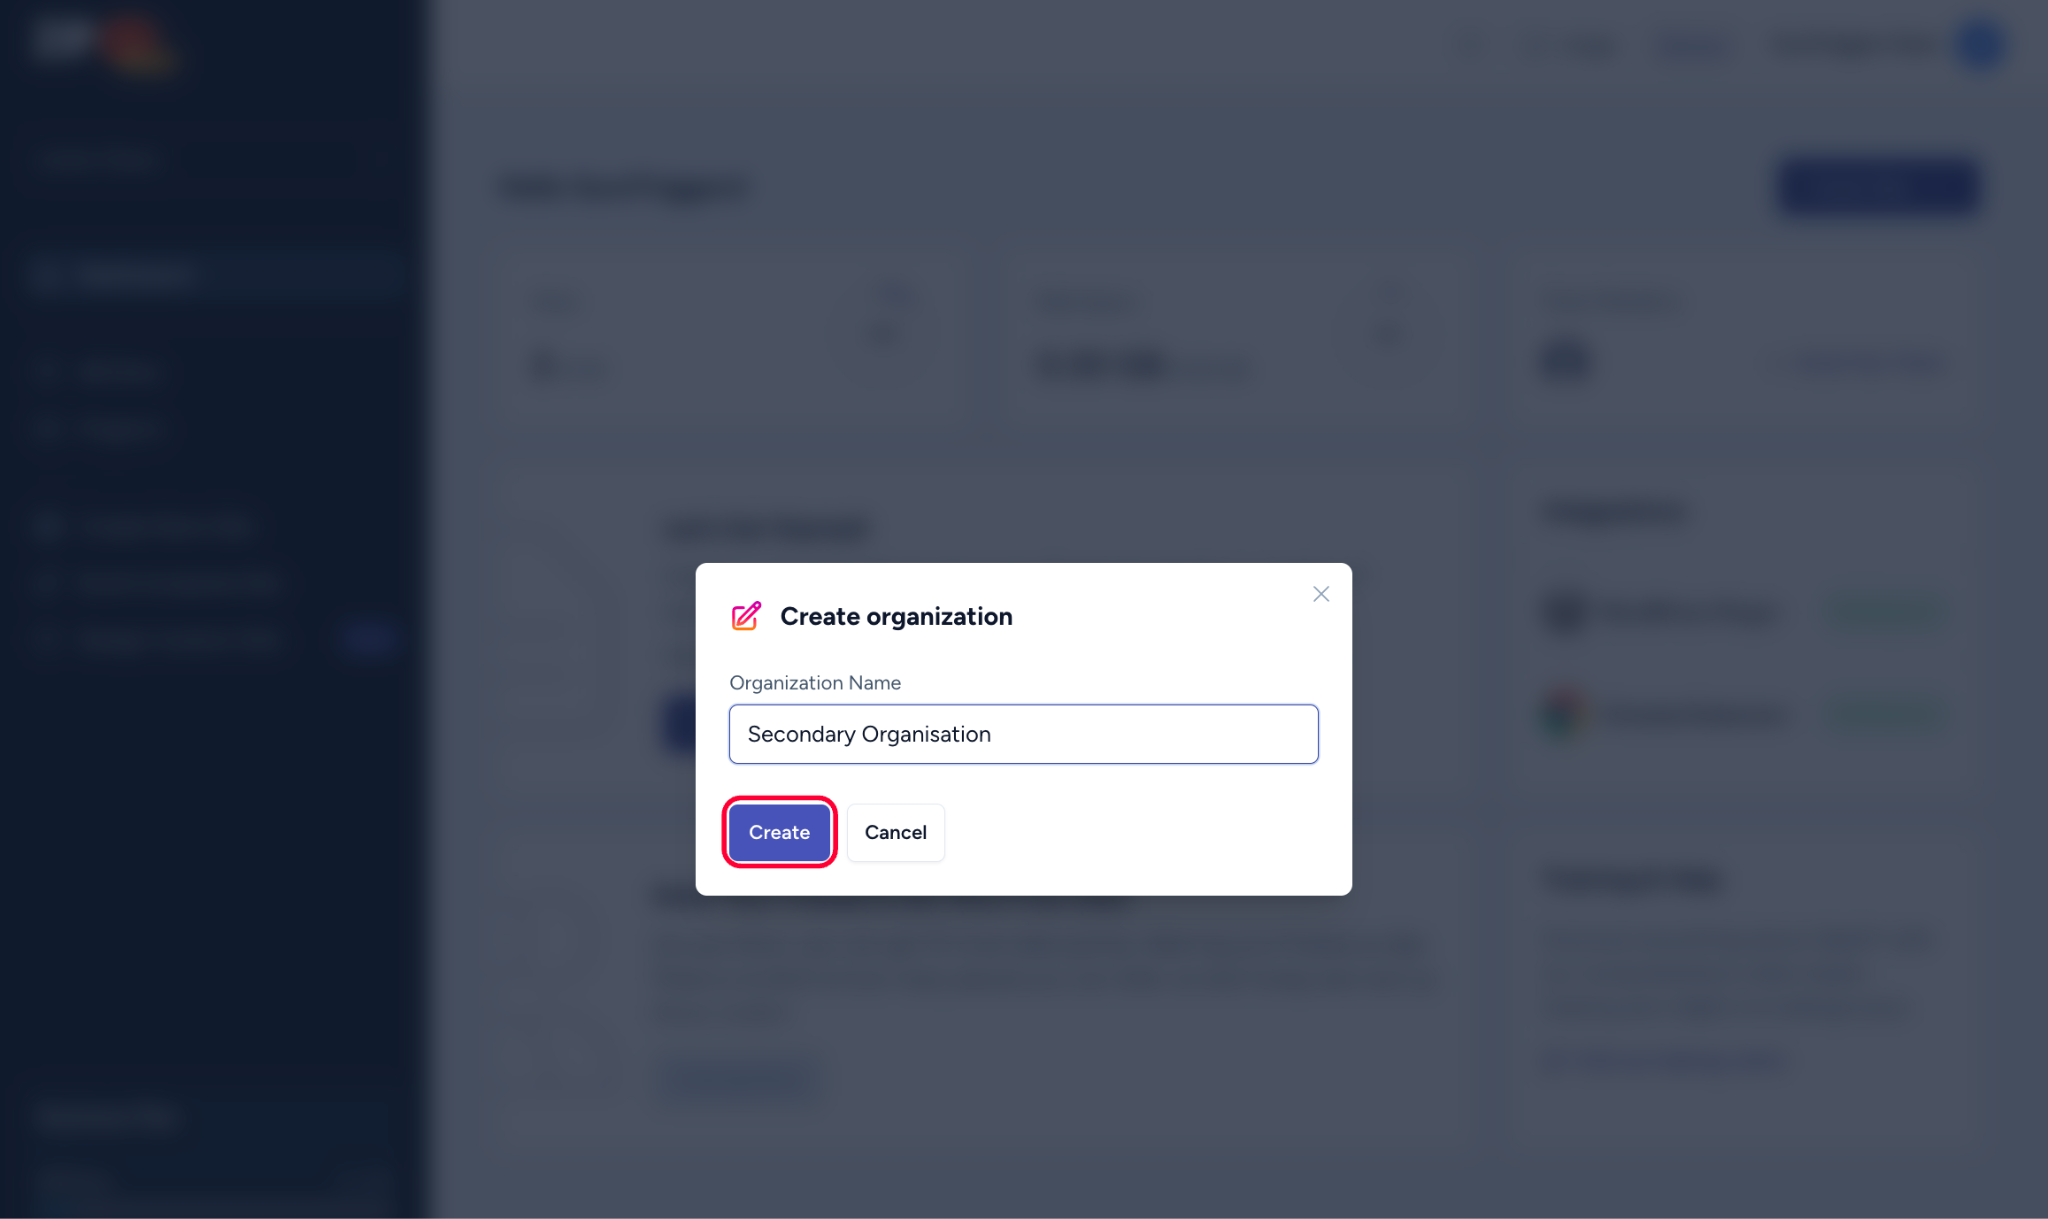
Your organization has been created!
Similarly, you can create multiple organizations and upgrade them to get access to premium features. While you can have paid organizations, you can also keep one free organization in your ZipWP account at all times.
How To Invite Team Members To An Organization
To invite a member to your organization, your organization must be on the Business plan. If your organization is not a Business plan, you can upgrade it and simply follow the steps below:
- Log in to your ZipWP account.
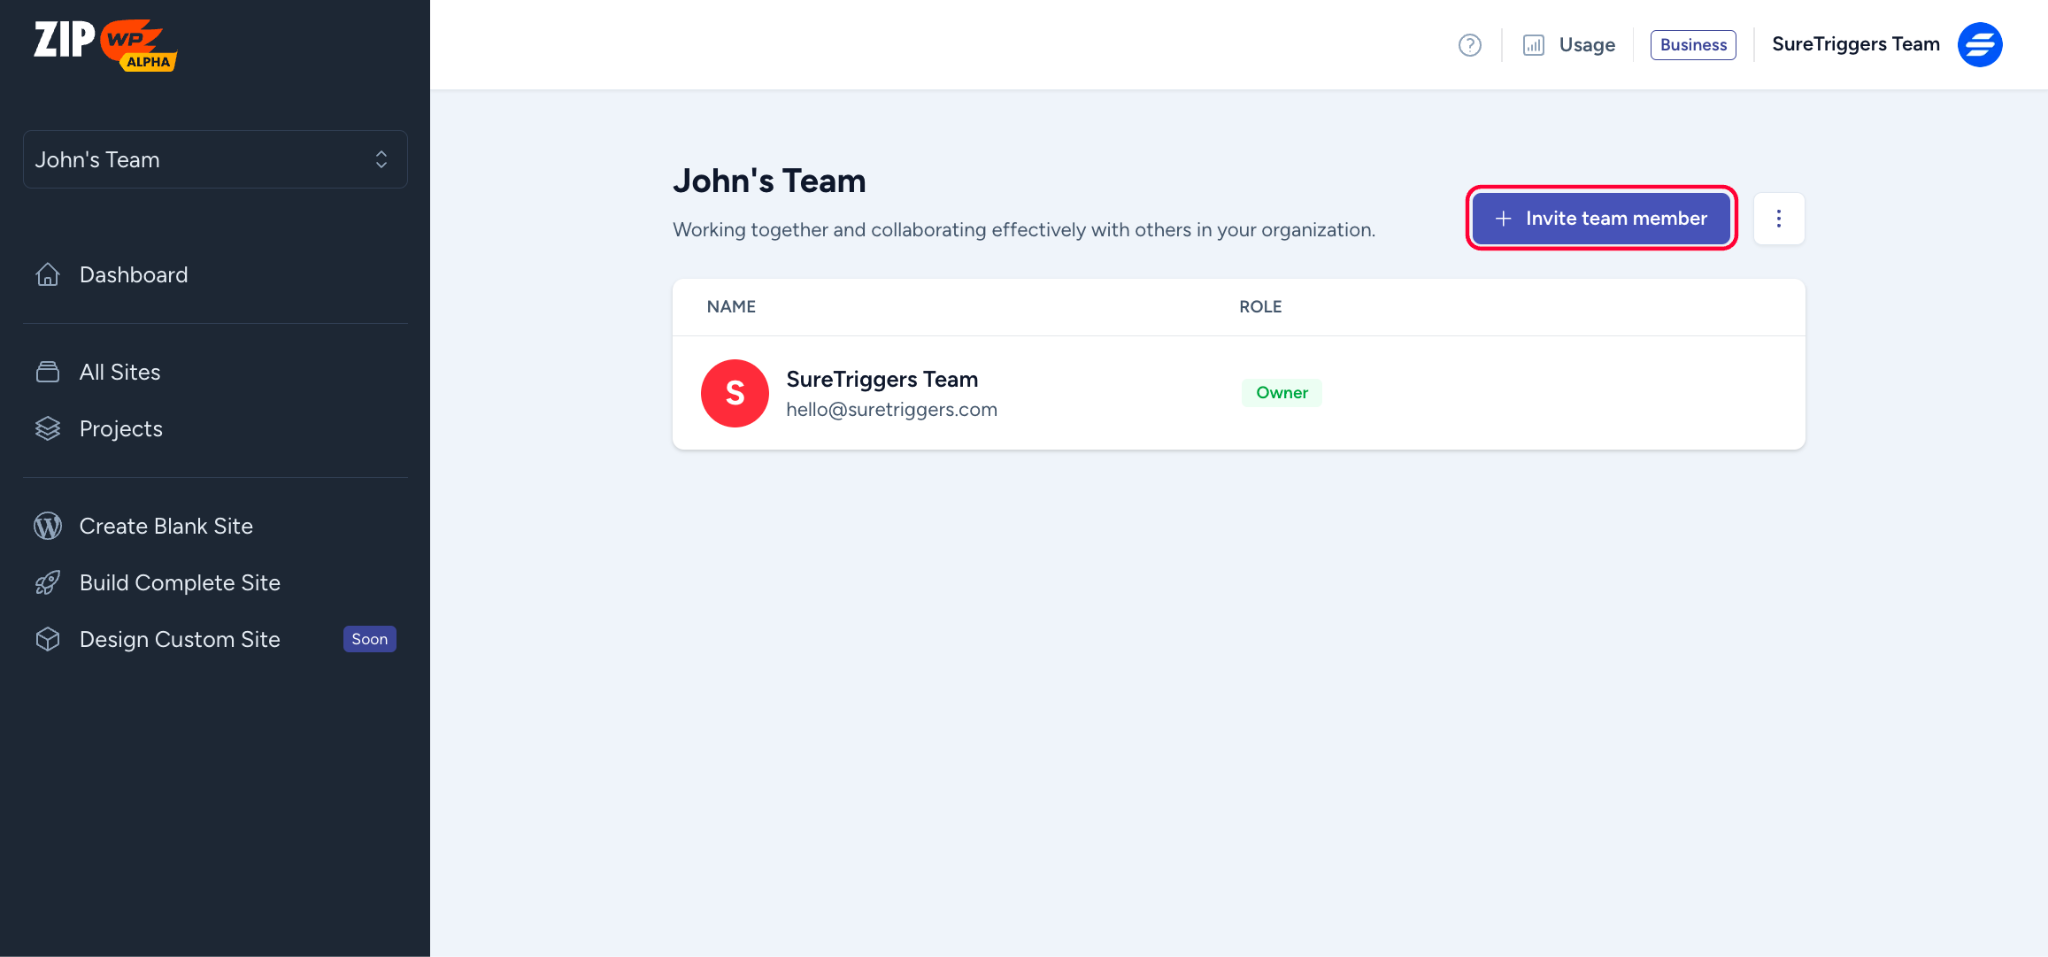
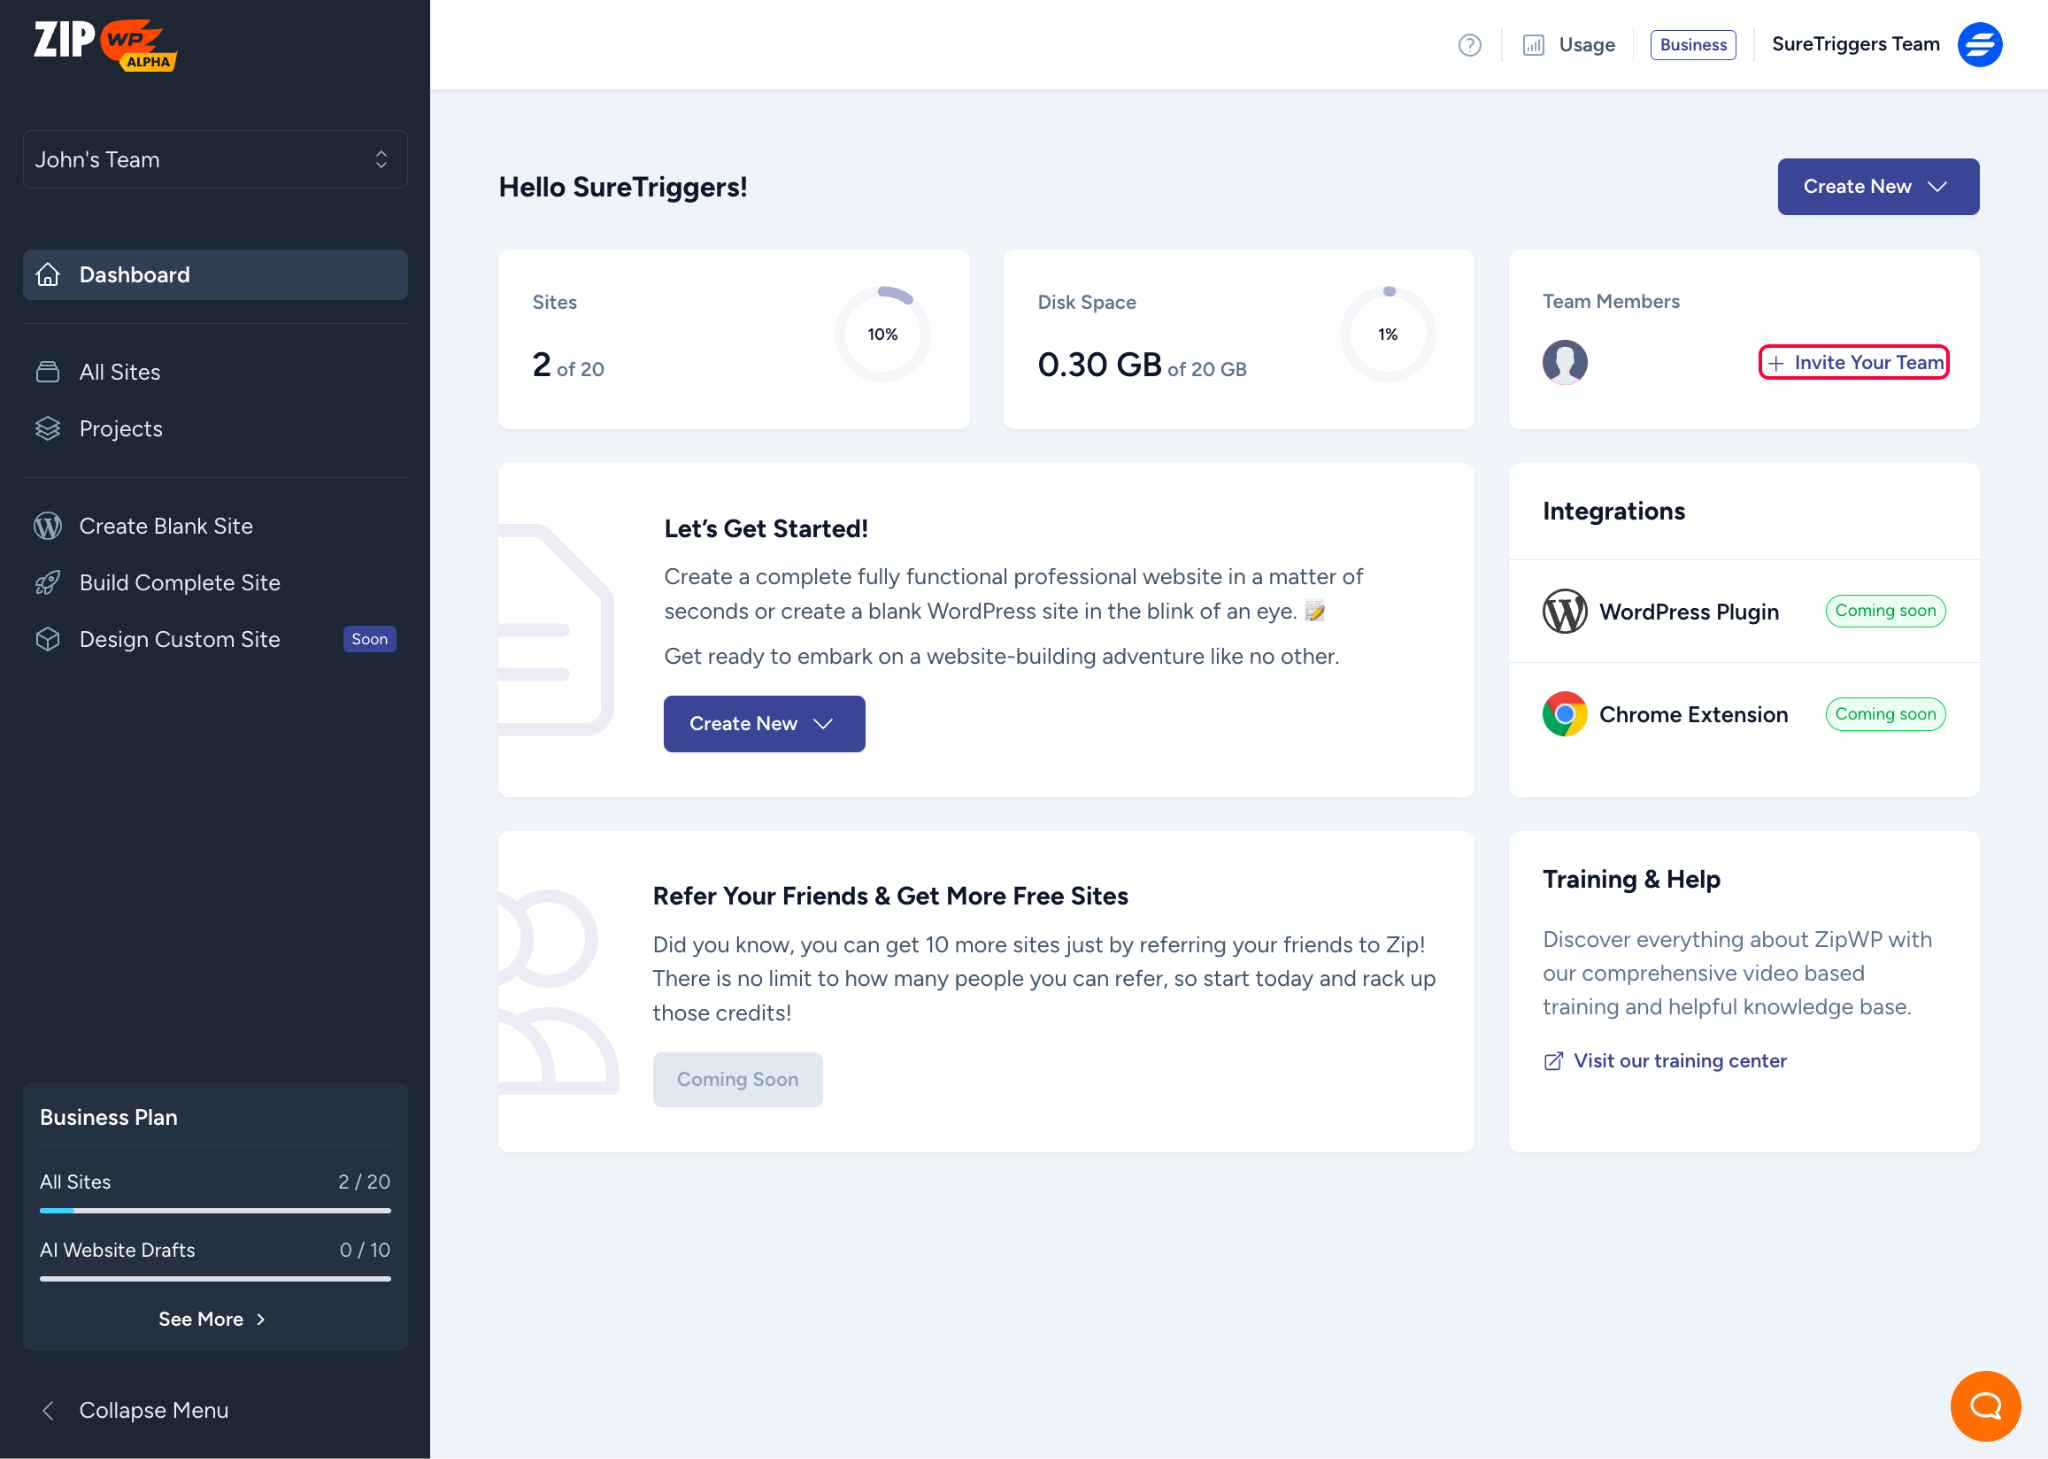
- Click on the Invite Your Team button on the dashboard.
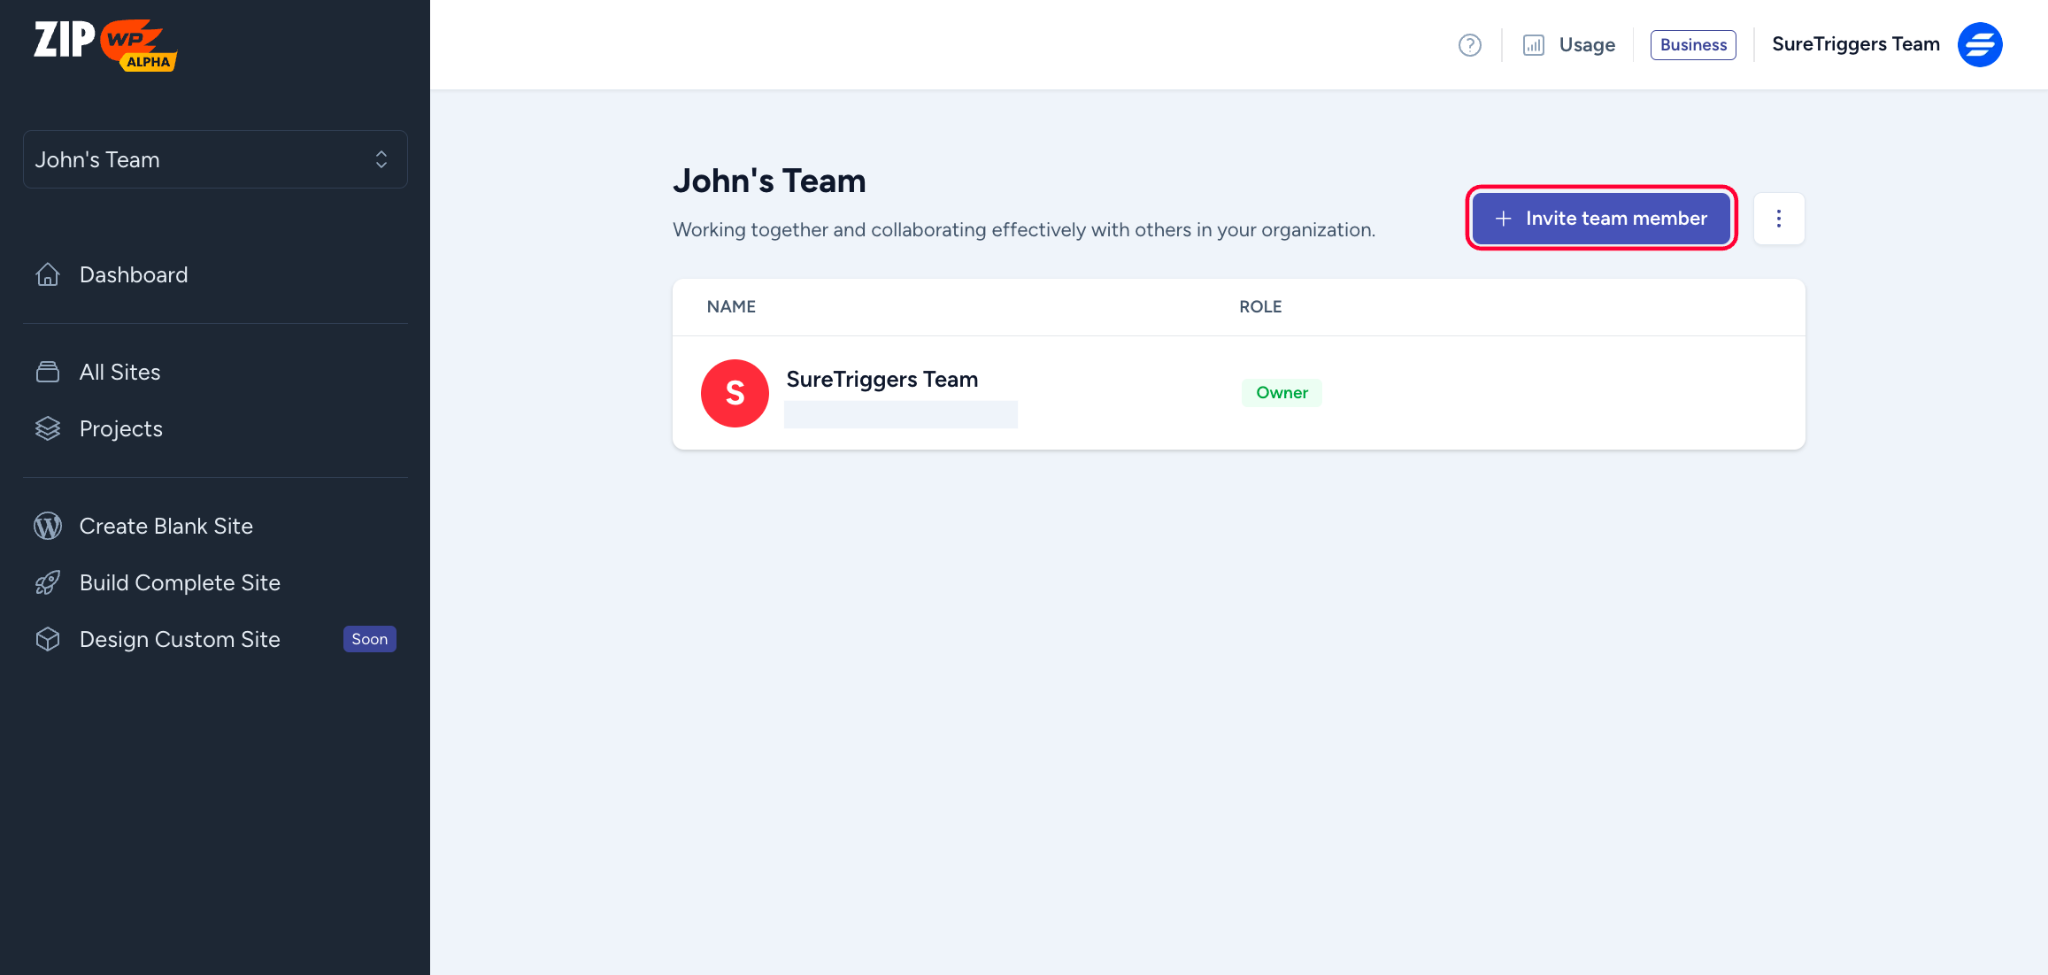
- Click on the Invite Team Members button.
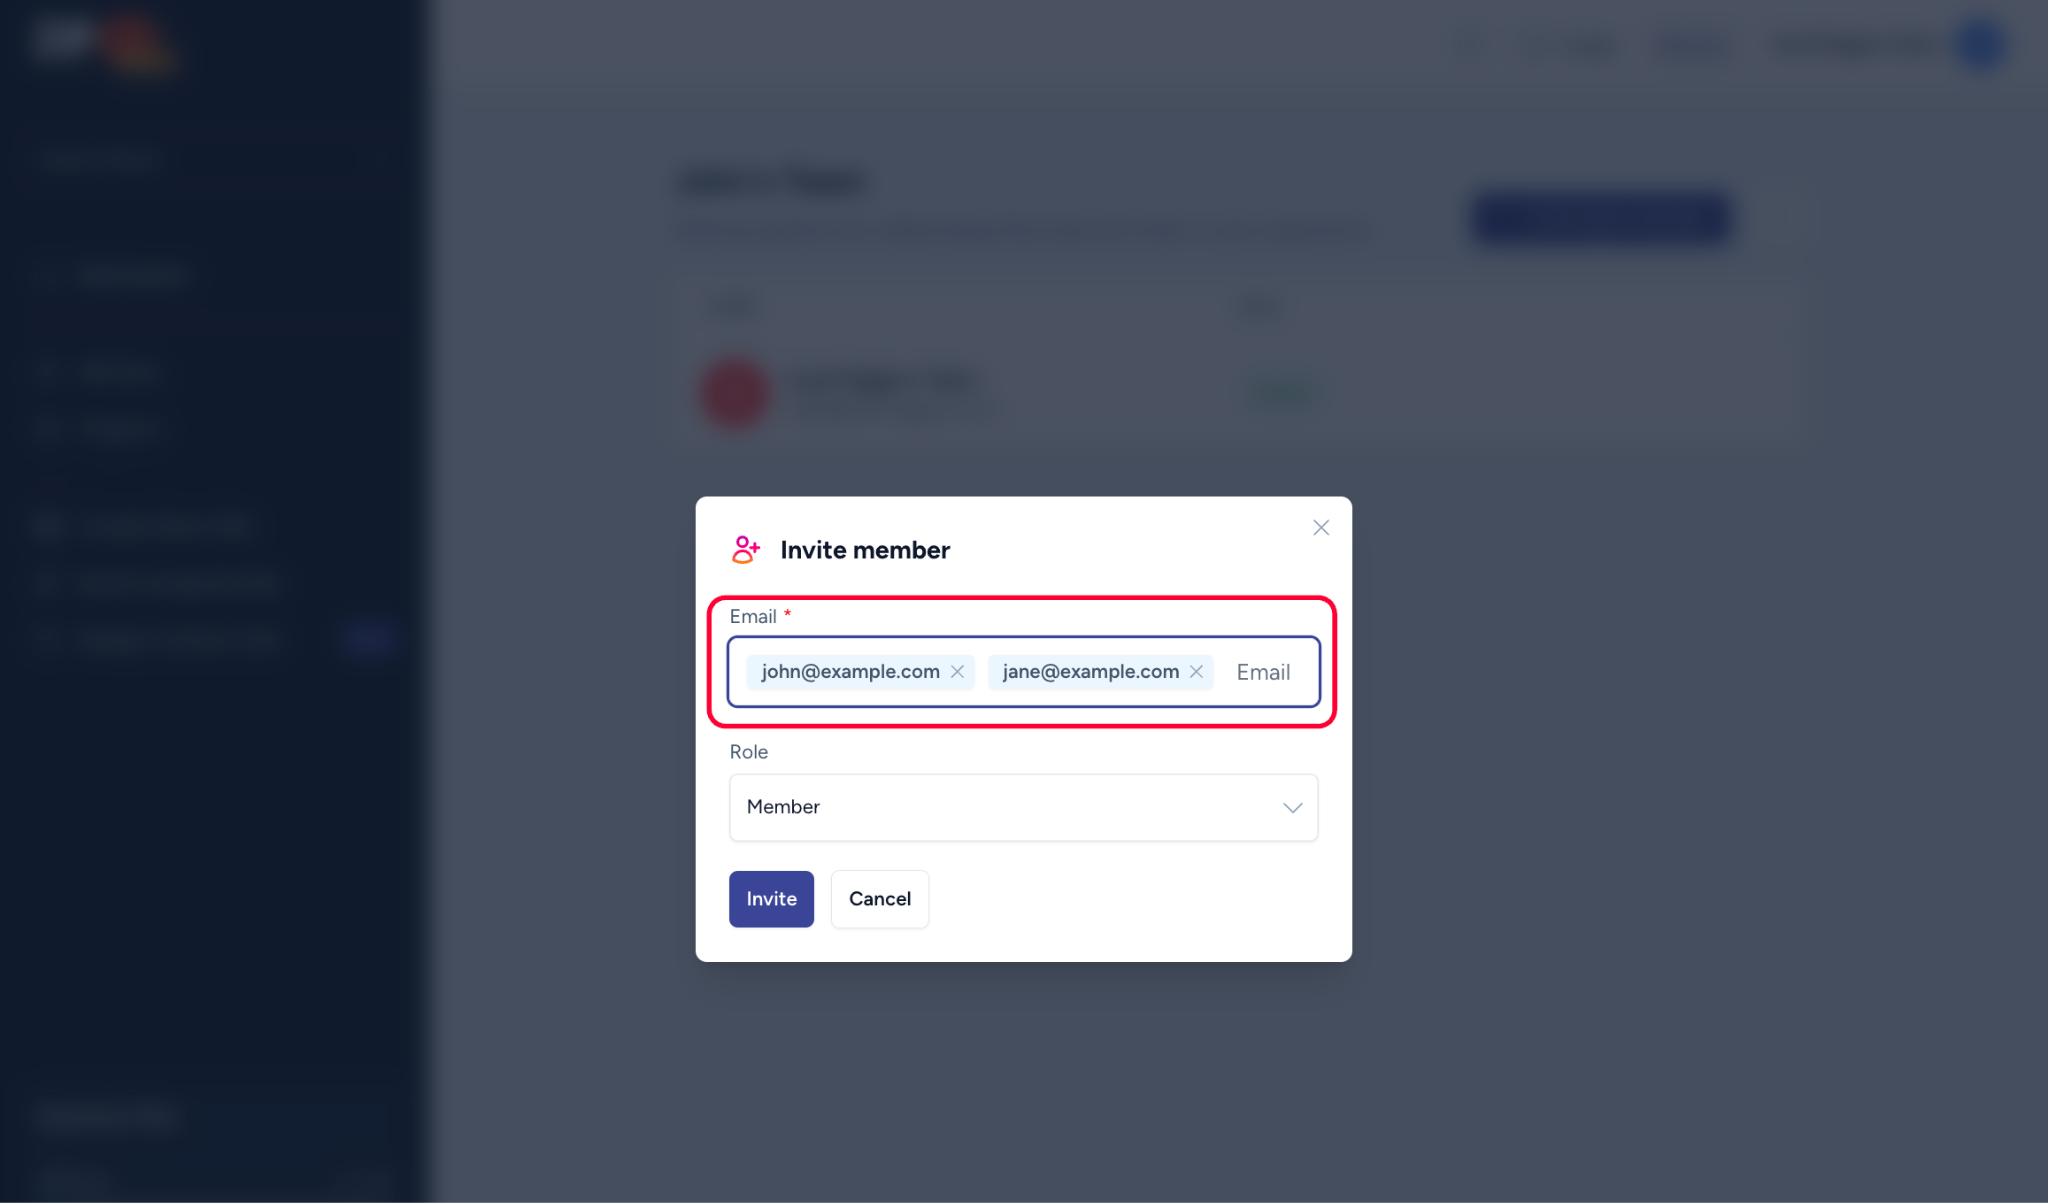
- Add the email addresses of the people you want to invite. You can invite multiple people at once.
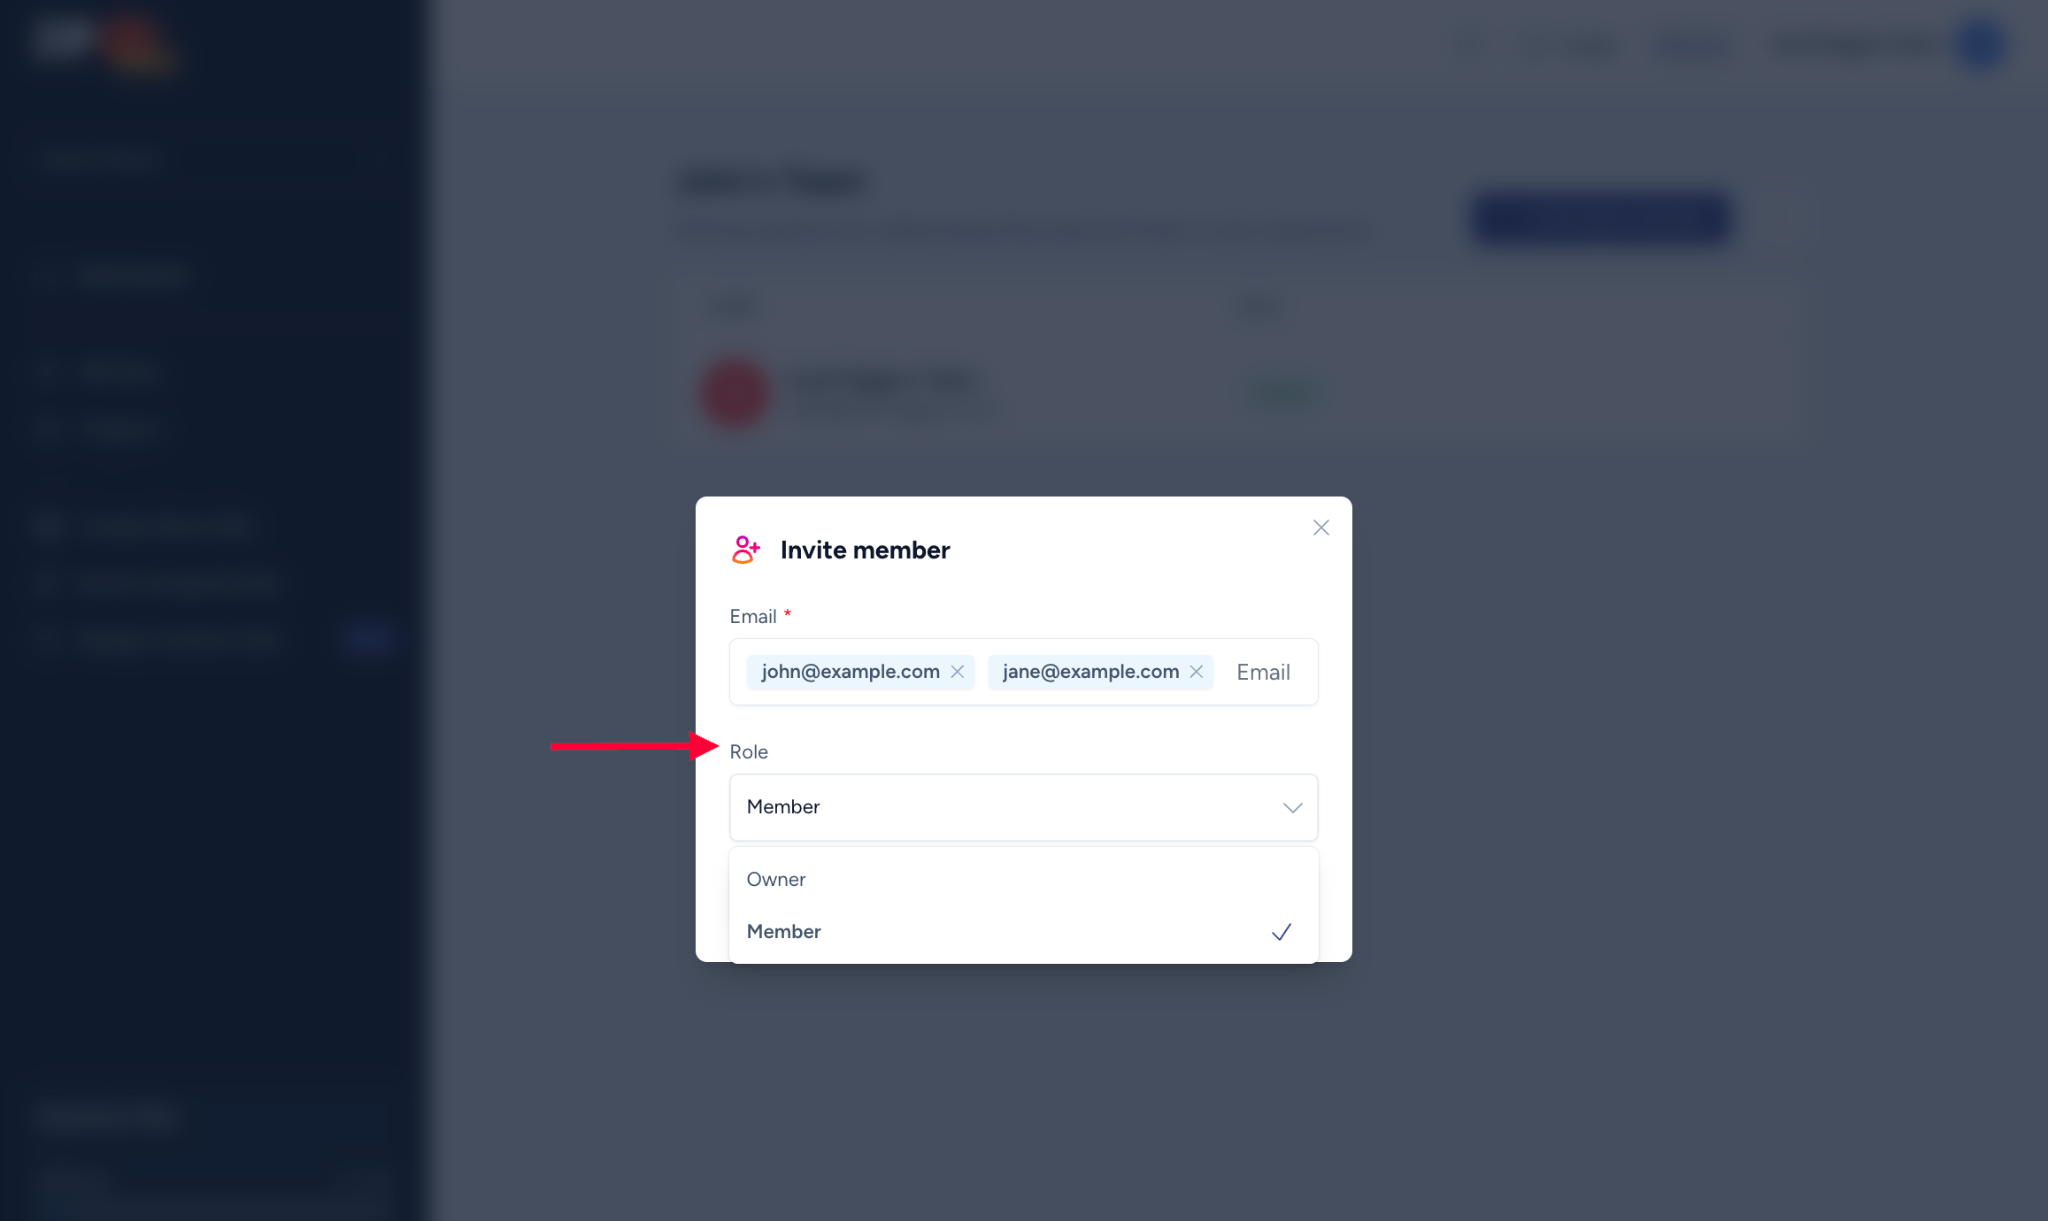
- Choose the role you want to assign to the invitees. Each role has a different level of access to the features of your ZipWP organization. You can learn about the permissions here.
- Click on the Invite button.
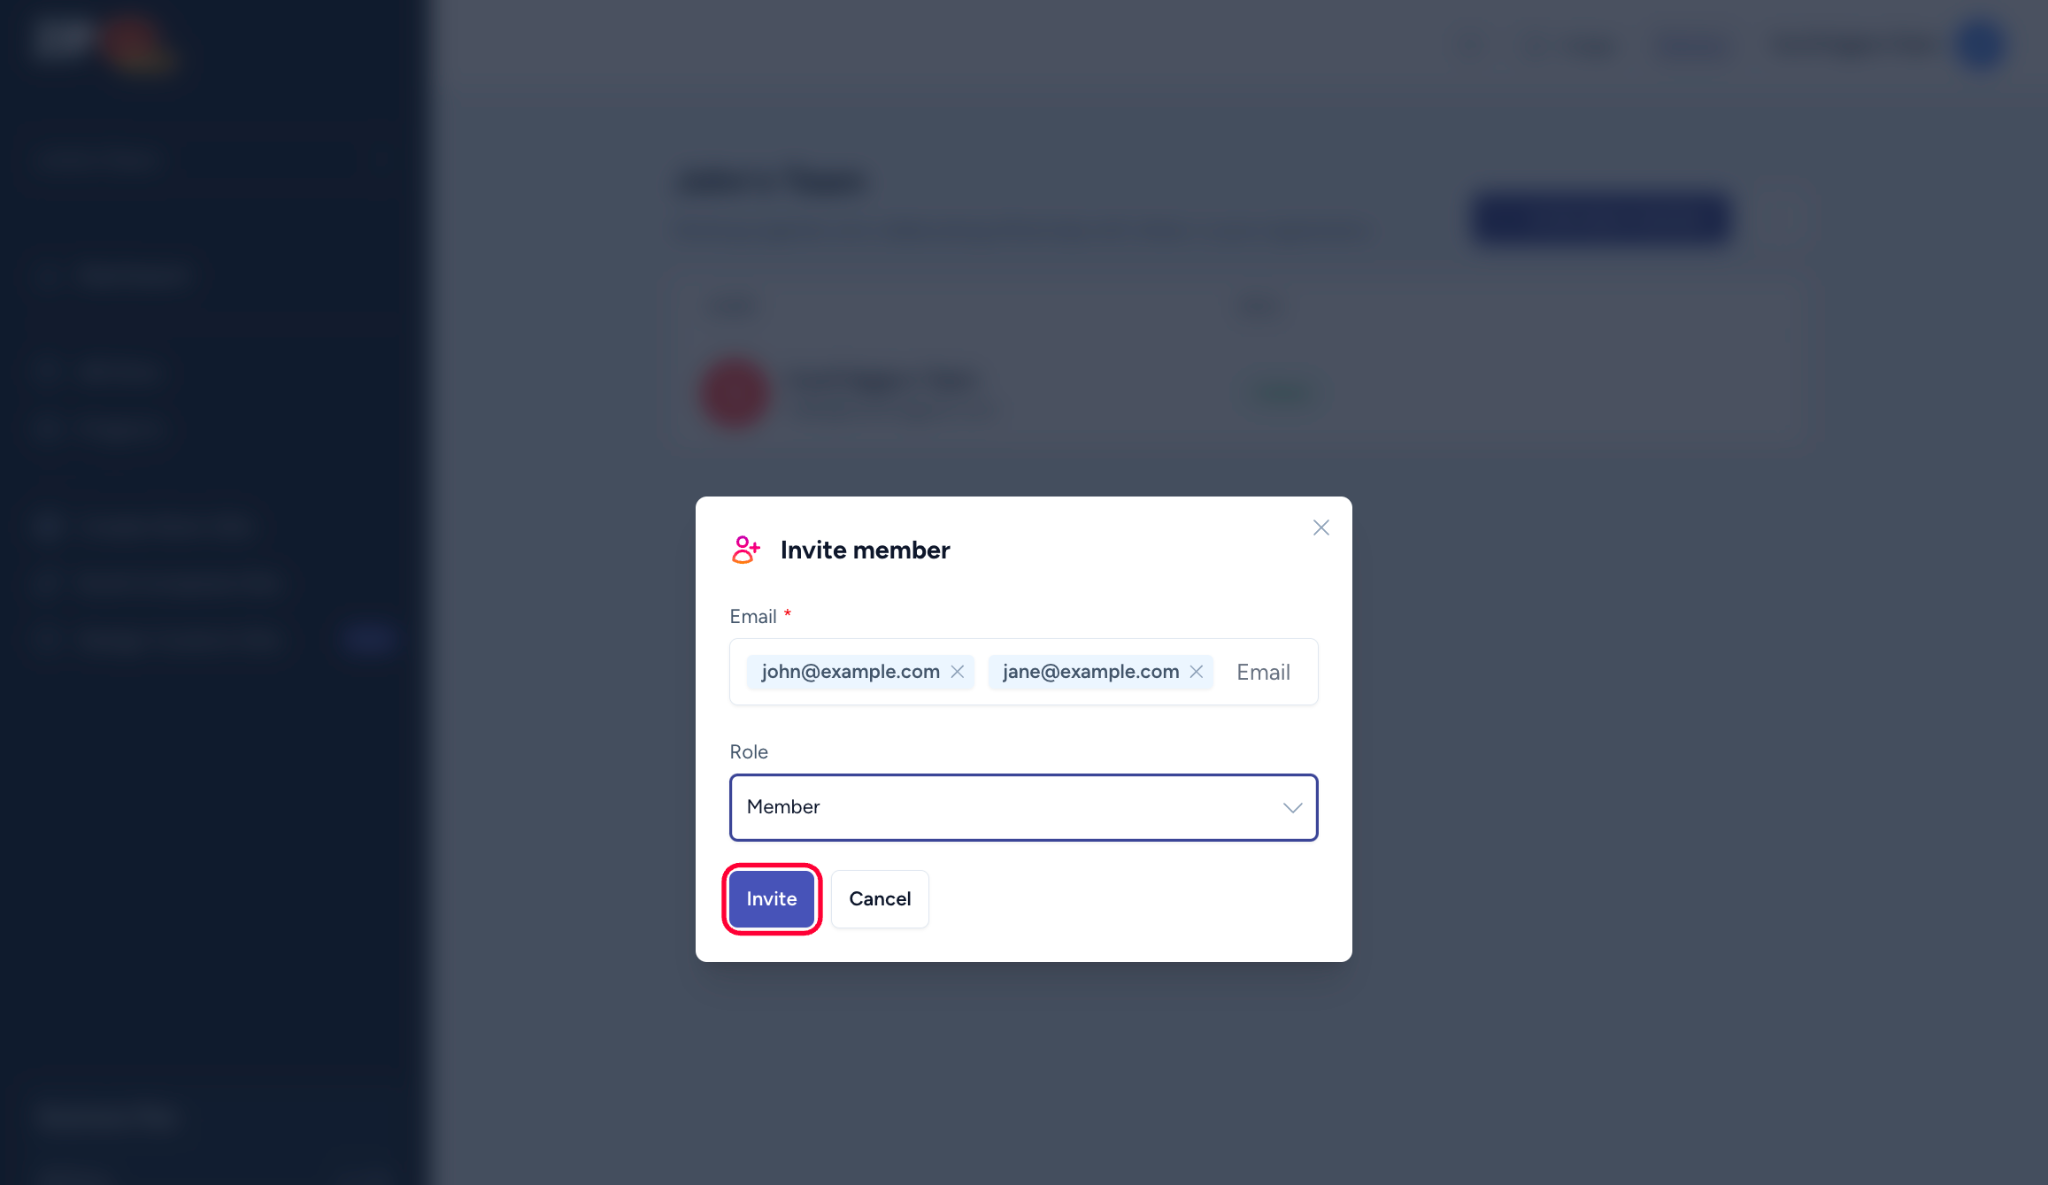
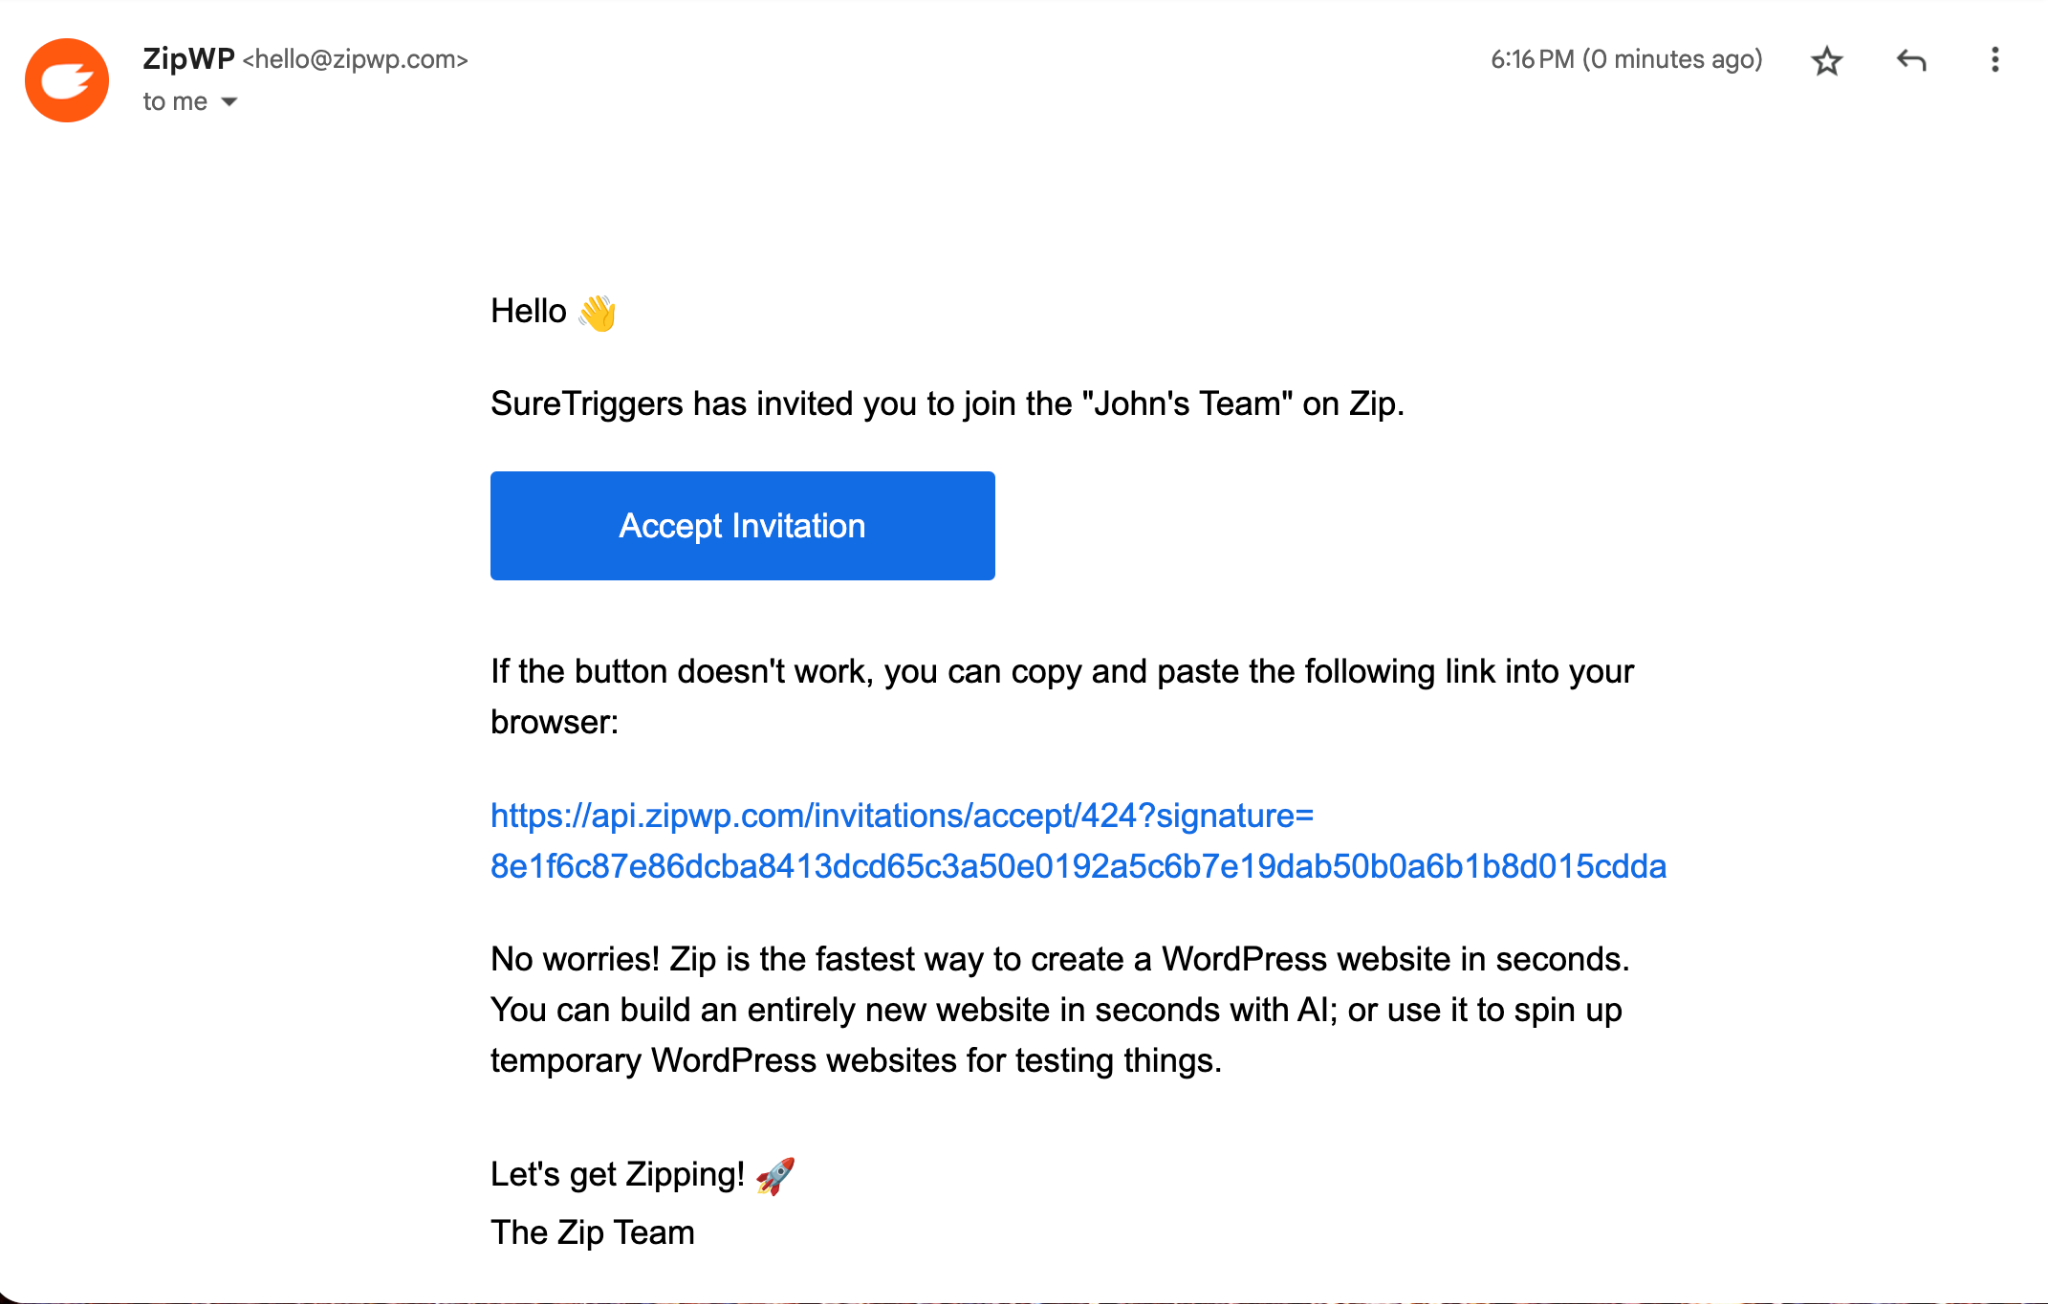
That’s all you need to do from your end. Now, the invitees will receive an email invitation, and they can follow the instructions in the email to join your team.
How To Remove Team Members From An Organization
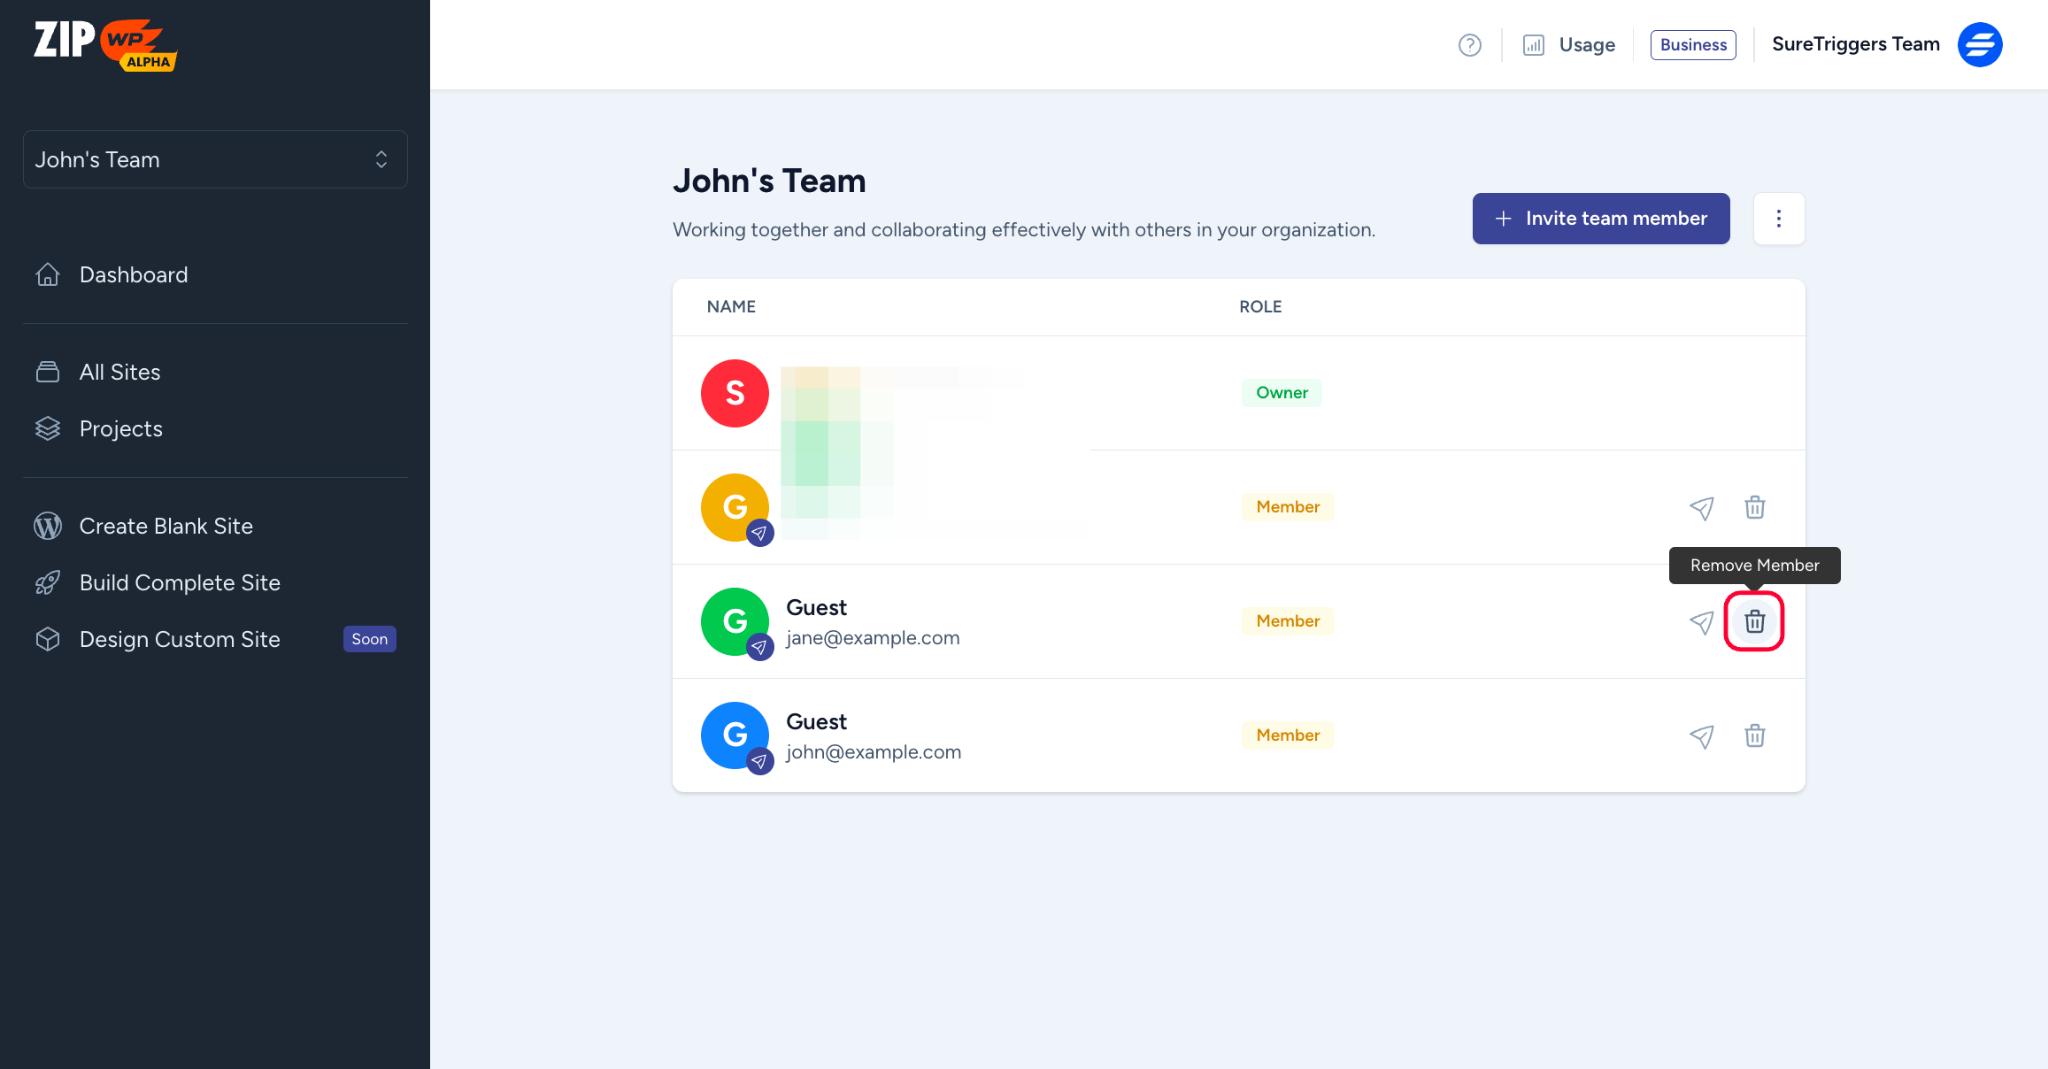
If you wish to remove a member from your organization, simply click on the Trash icon and confirm that you want to remove the member.
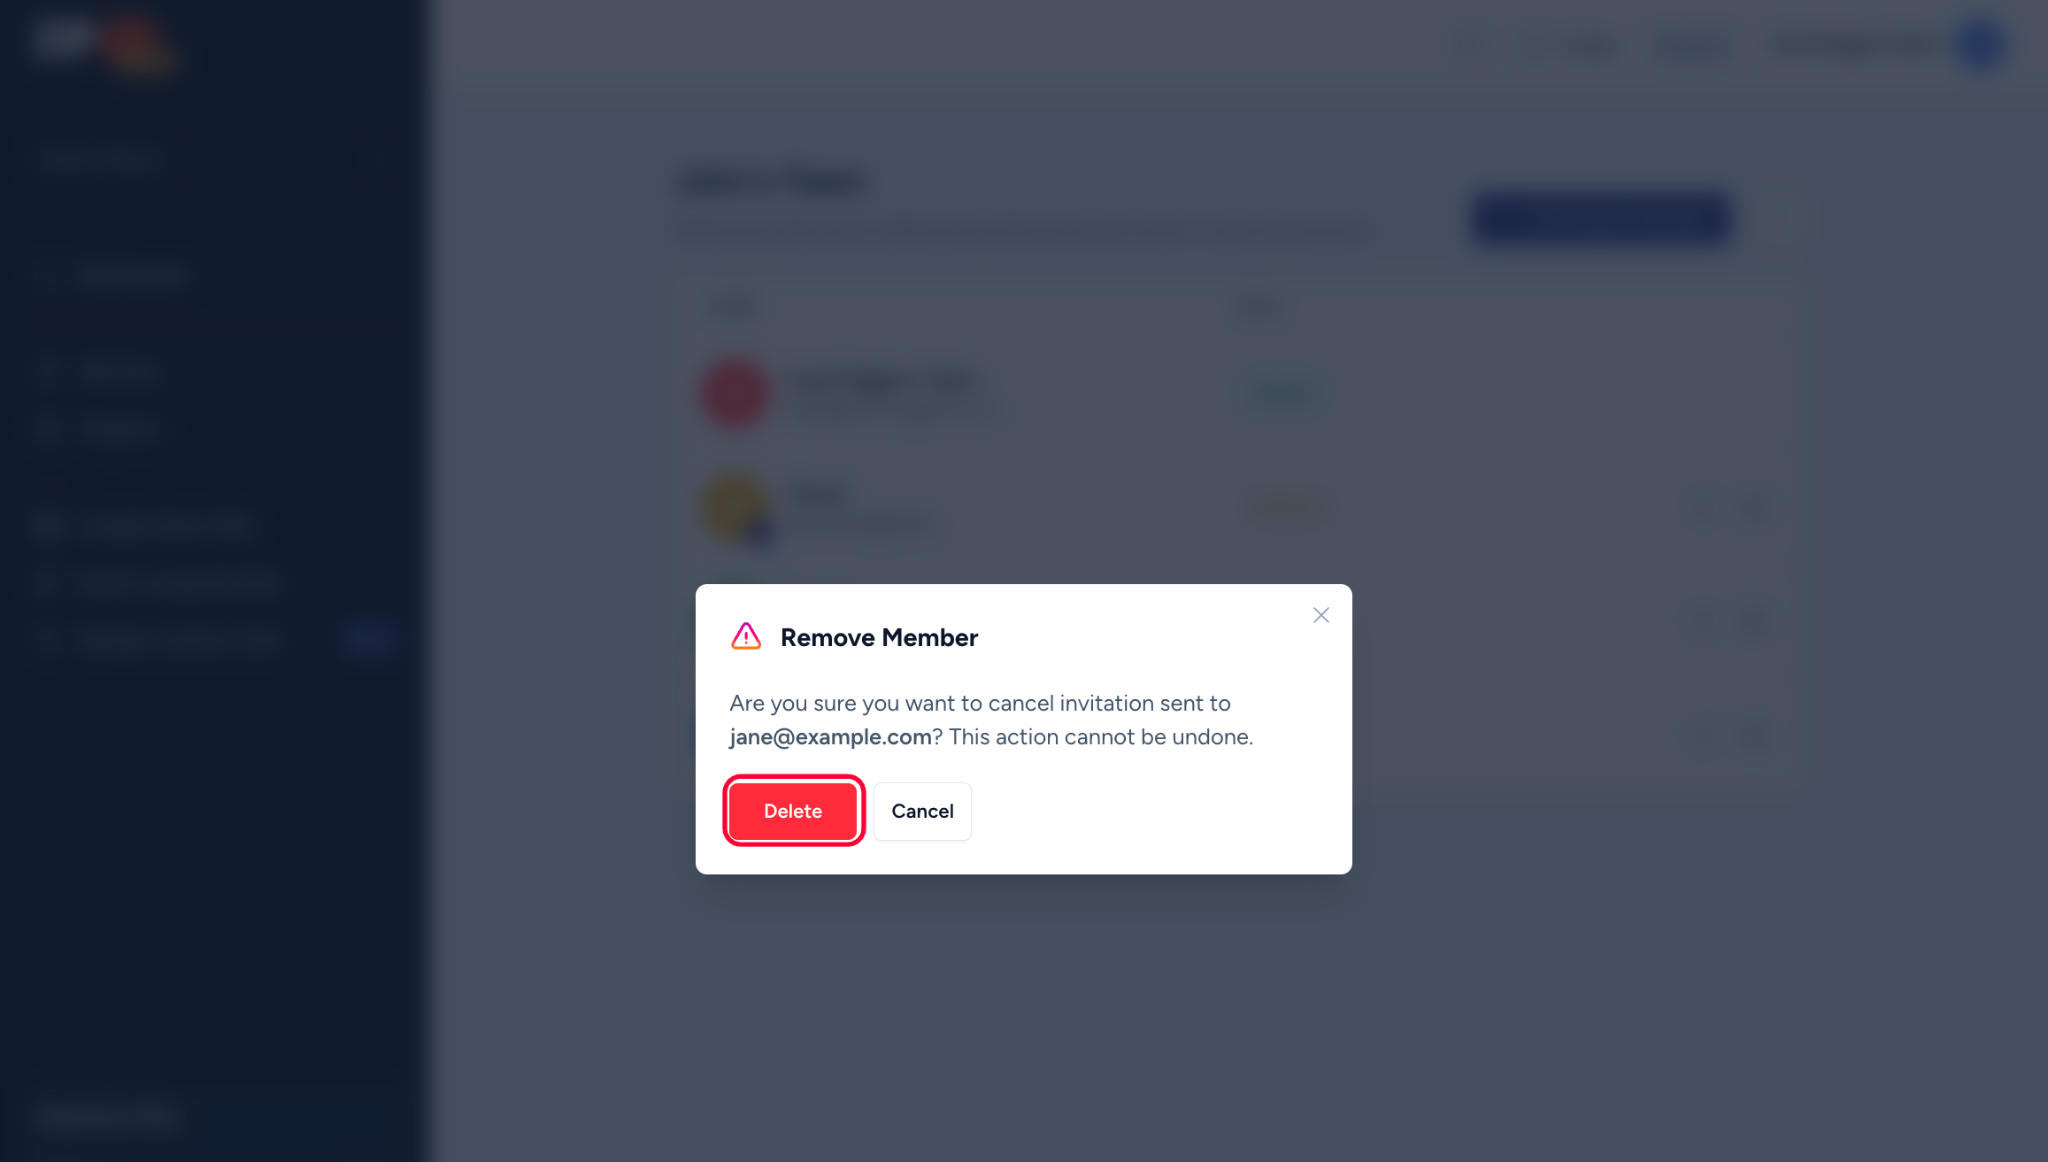
Once you do that, they will no longer be able to access any information within your ZipWP organization.
That brings us to the end of this article. Hope it helped you understand how you can manage organizations and team members in your ZipWP account.
In case we missed anything, you can reach out to us!
We don't respond to the article feedback, we use it to improve our support content.